
Ever wonder what actually happens when a crew clears a piece of land? From the outside it can look like a few days of noise and dust. Behind that, a clearing job follows a clear order, and each step sets up the one after it. Get the sequence right and you end up with a clean, stable site ready to build on. Get it wrong and you pay for it later.
Here is how Mountainside Land Services runs a clearing job from start to finish on mountain properties across Jefferson, Clear Creek, Gilpin, Park, Summit, and Douglas counties.
Step 1: Site Assessment
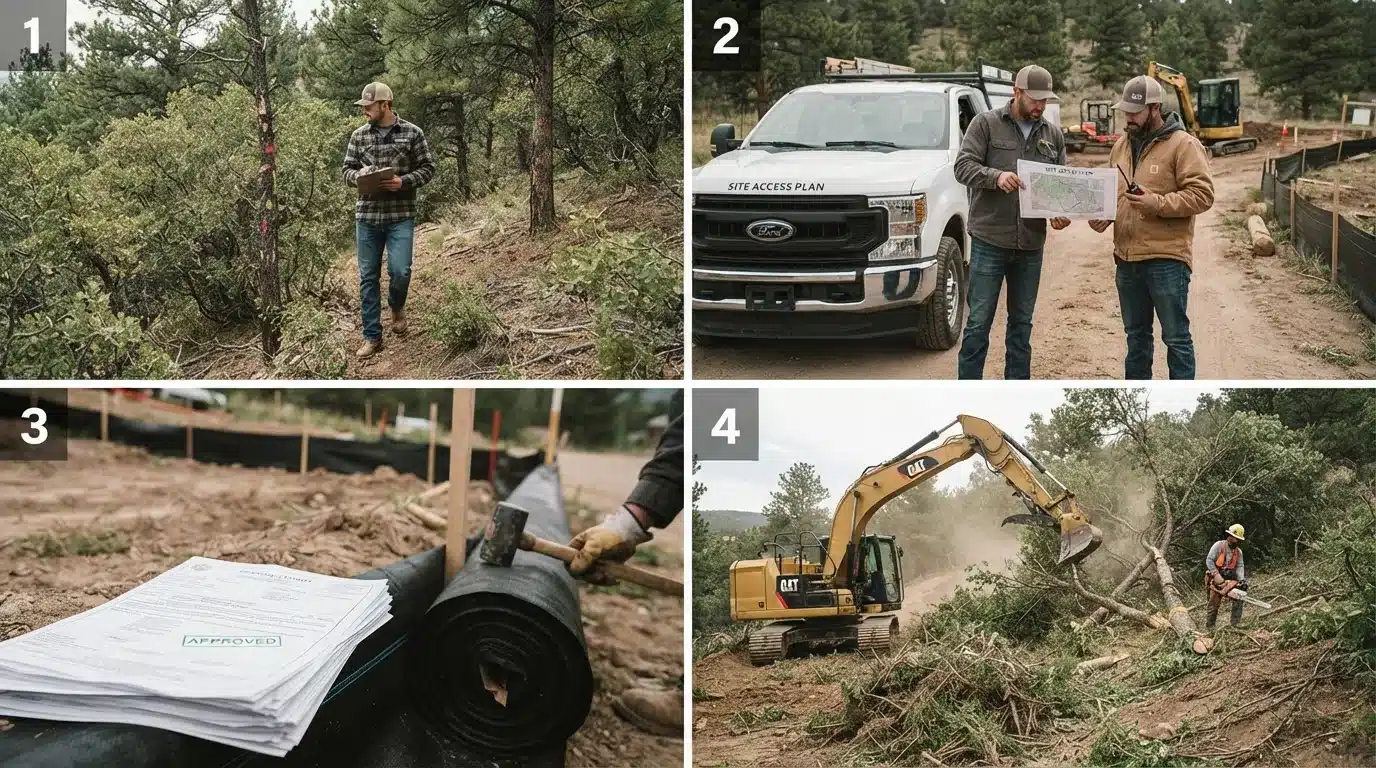
Every job starts with a walk of the land. The crew looks at what is growing, how steep the ground is, where rock sits near the surface, and how water moves across the lot. This is when the building site, the driveway path, and any trees worth saving get marked.
It is also when buried utilities get located, since a call to Colorado 811 before any digging is the law and good sense. Dead trees, wet spots, and other hazards get noted now too. A solid assessment turns guesswork into a plan, and it is the difference between an accurate bid and a costly surprise halfway through.
Step 2: Planning and Access Review
With the lay of the land understood, the next step is figuring out how to work it. Which machines can reach the site? Where will material be staged? What route will equipment take in and out? On a mountain lot, access often decides the whole approach. A narrow drive or a steep grade can rule out big equipment and shape the order of work.
The crew also plans around the season, since frozen ground and spring mud each change what is possible. Planning this now keeps the job moving once it starts instead of stalling on day one.
Step 3: Permit and Regulation Checks
Before any cutting begins, the paperwork has to be in order. Clearing counts as land disturbance, and counties treat it that way. In Jefferson County, disturbing more than half an acre can require a grading permit, and crossing one acre triggers a state stormwater permit.
Sites near water or in a floodplain may need more. Many permits also require erosion control measures, like silt fence, to be in place before the first machine moves. A contractor who handles this step keeps your project legal and avoids a stop-work order that freezes everything.
For the decisions that come before a job like this, see our guide on what to know before clearing land for a new build.
Step 4: Tree and Brush Removal
Now the visible work begins. Trees and brush come down in a planned order, usually starting from the access point and working inward. Near a structure or a property line, that means careful directional felling so nothing lands where it should not.
A careful crew protects the trees you marked to keep and avoids tearing up ground that does not need it. Material gets sorted as it falls, with usable timber, chippable brush, and waste separated for what comes next. Heavier wooded lots take longer here, and rock or steep slope can slow the pace.
Step 5: Stump Removal
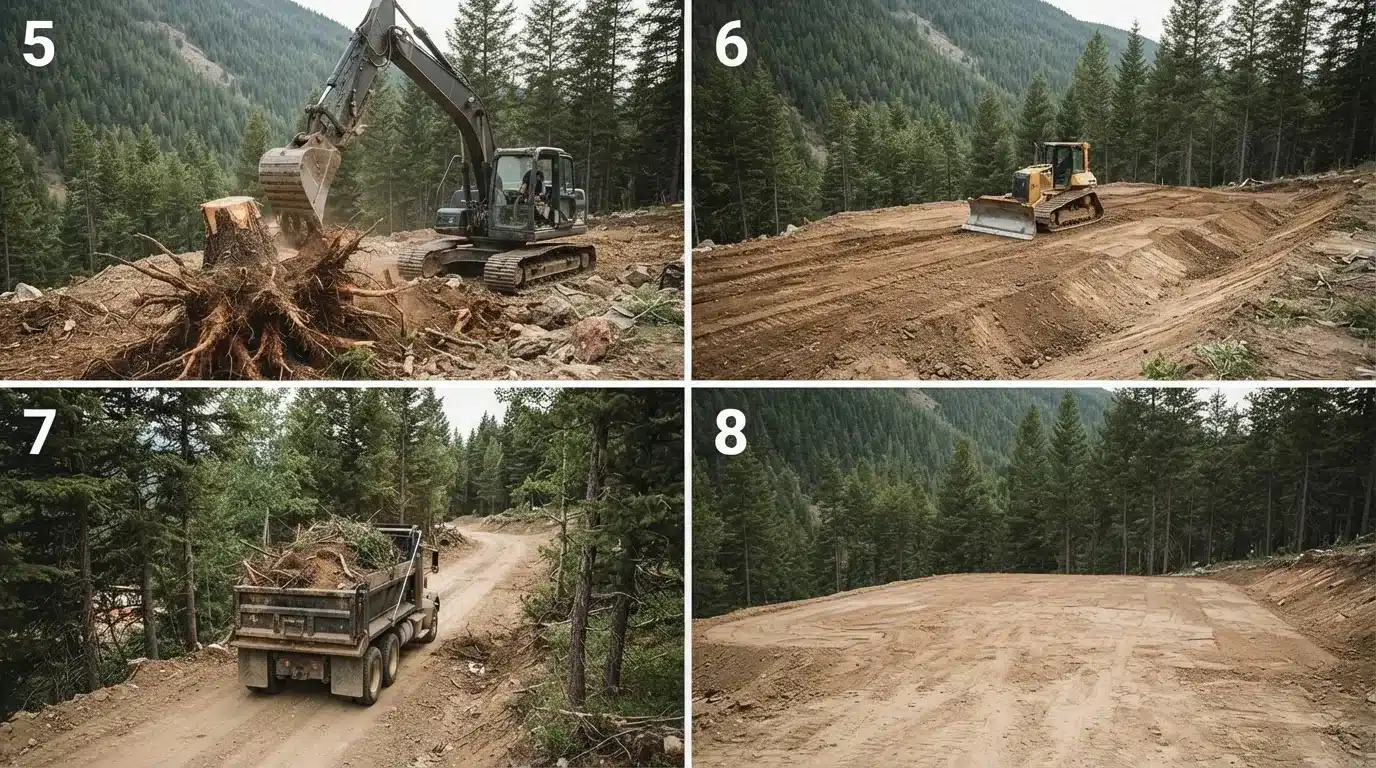
Cutting a tree leaves a stump and a root ball, and both have to go before you can build. Stumps are ground down or pulled out, depending on size and what the site needs. Leaving them is not an option on a build site.
They rot, they shift, and they sit right where footings and slabs need clean ground. The holes left behind get backfilled and compacted so the ground is solid. This step is slower than it looks, especially with large or old root systems in rocky mountain soil.
Step 6: Grading and Rough Shaping
With the lot cleared, the crew starts shaping the ground. Rough grading cuts down the high spots, fills the low ones, levels the building area, and sets the slope for drainage. Fill gets compacted in layers so it will not settle later under the weight of a house. This is where the site starts to look like a place you could build.
Done right, grading sends water away from the future foundation and sets up the finish grading that comes later in the build. Done poorly, it leaves low spots that collect water and soft areas that sink.
Step 7: Hauling and Cleanup
All the material pulled from the site has to go somewhere. Timber, brush, stumps, and debris get hauled, chipped, or disposed of according to the plan and local rules. Brush is often chipped into mulch that can stay on site, while waste heads to the dump and good topsoil gets stockpiled for reuse.
A clean site is not just about looks. Leftover debris gets in the way of the next trades and can hide problems. Good cleanup leaves the lot clear, safe, and easy to work on.
Step 8: A Construction-Ready Site
The point of the whole process is a site the builder can start on without surprises. At the end of a clearing job done right, you should have:
- A clear footprint: The building area open, level, and free of stumps and debris.
- Managed water: Rough grading that carries runoff away from the build.
- Solid access: A usable route for the trades and trucks that follow.
- A clean slate: Material hauled and the site ready for the next phase.
From here, foundation work and construction can begin on ground that was prepared with the whole project in mind.
Planning a Clearing Project?
A clearing job is only as good as the plan behind it and the crew running it. Mountainside Land Services handles land clearing and excavation across Colorado’s high country, start to finish, with an eye on the build that comes next. Reach out for a free assessment of your lot.